How to Diagnose and Fix Audio Driver Issues in Ubuntu
If you’ve ever booted into Ubuntu, opened a video, and been met with total silence, you know how frustrating it can be. Sound problems are one of the most common complaints among Linux desktop users, and Ubuntu is no exception. The good news is that in almost every case, the issue is fixable in a few minutes once you know where to look. This guide walks you through how to diagnose and fix audio driver issues in Ubuntu, covering everything from quick checks to deeper driver-level repairs, and it applies whether you’re running Ubuntu 24.04 LTS, the 25.10 interim release, or the newer Ubuntu 26.04 LTS “Resolute Raccoon.”
I’ve spent years troubleshooting audio on Linux machines, from cheap laptops with flaky Realtek chips to studio rigs running professional interfaces, and the same handful of culprits keep showing up: a muted or misrouted sink, a missing kernel module, a broken PipeWire session, or outdated firmware. This article breaks each of these down step by step, with real commands you can copy and paste, so you’re not just guessing.
Why Audio Problems Happen on Ubuntu in the First Place
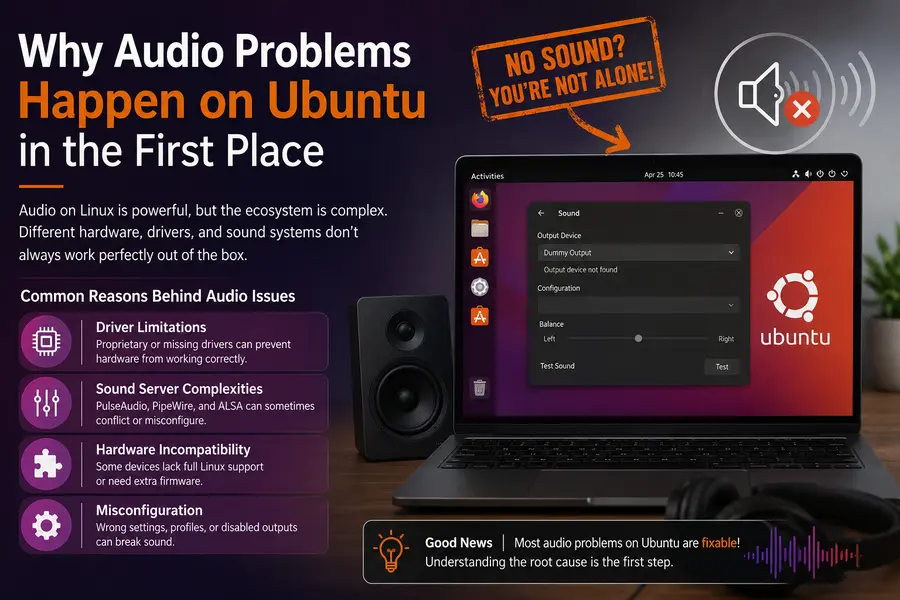
Before jumping into fixes, it helps to understand the audio stack Ubuntu uses today, because that context makes troubleshooting far less confusing.
Modern Ubuntu releases (22.10 and later, including 24.04 LTS and 26.04 LTS) use PipeWire as the default sound server, with WirePlumber handling session and policy management. PipeWire replaced PulseAudio as the default back end, though PulseAudio compatibility is still provided through pipewire-pulse. Underneath all of that sits ALSA (Advanced Linux Sound Architecture), which talks directly to your sound hardware through kernel drivers.
So when someone says “my audio driver is broken,” the actual problem could live in one of three layers:
- The kernel driver layer – ALSA modules like
snd_hda_intelfor onboard audio, or USB audio class drivers for external devices. - The sound server layer – PipeWire, WirePlumber, or a stuck PulseAudio process interfering with things.
- The application layer – an app pointing to the wrong output device, or a browser tab that got muted.
Most guides online jump straight to reinstalling drivers, but that’s often the wrong first move. Start at the top (application and server layer) and work down, since that’s usually where the fault actually is.
Quick Diagnosis Checklist Before You Touch Anything
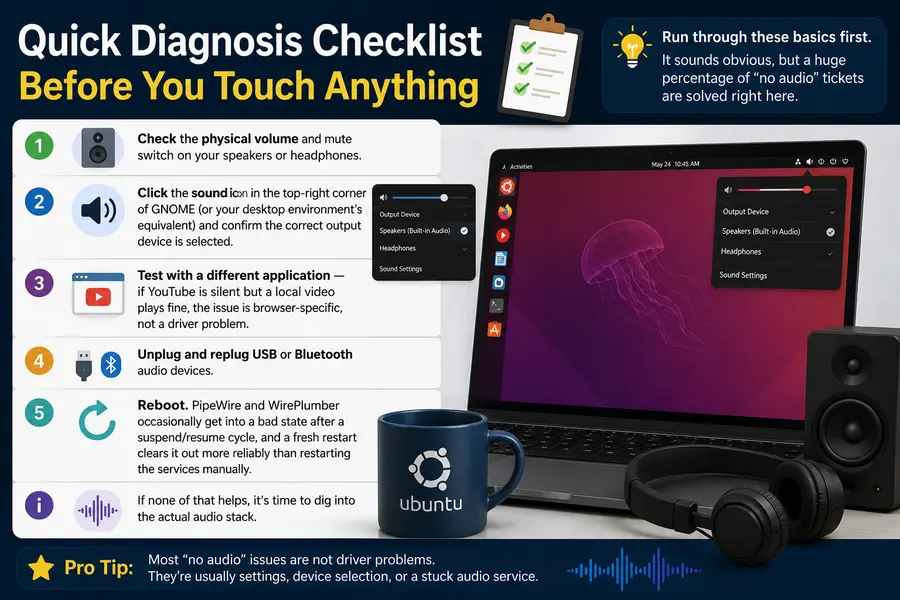
Run through these basics first. It sounds obvious, but a huge percentage of “no audio” tickets are solved right here.
- Check the physical volume and mute switch on your speakers or headphones.
- Click the sound icon in the top-right corner of GNOME (or your desktop environment’s equivalent) and confirm the correct output device is selected.
- Test with a different application — if YouTube is silent but a local video plays fine, the issue is browser-specific, not a driver problem.
- Unplug and replug USB or Bluetooth audio devices.
- Reboot. PipeWire and WirePlumber occasionally get into a bad state after a suspend/resume cycle, and a fresh restart clears it out more reliably than restarting the services manually.
If none of that helps, it’s time to dig into the actual audio stack.
Step 1: Confirm Ubuntu Sees Your Sound Hardware
Open a terminal and check whether the kernel has detected your audio hardware at all.
lspci -v | grep -A 10 -i audioFor USB audio devices (external DACs, USB headsets, webcam mics), use:
lsusbIf your card doesn’t show up here, this isn’t a driver configuration issue — it’s a detection issue, which usually points to a BIOS setting, a hardware fault, or (rarely) a kernel that’s missing support for very new hardware. Check your BIOS/UEFI to make sure onboard audio hasn’t been disabled, which happens more often than people expect on pre-built desktops and some laptops.
If the card does show up, move on. This confirms the hardware and PCI/USB layer are fine, and the problem sits somewhere in drivers or the sound server.
Step 2: Check ALSA and Kernel Module Status
Next, confirm ALSA has loaded the right driver module.
aplay -lThis should list your playback devices, something like HDA Intel PCH for onboard audio or a manufacturer name for USB devices. If the list is empty, the kernel module for your hardware likely isn’t loaded.
Check which modules are currently loaded:
lsmod | grep sndMost onboard Intel/AMD audio uses snd_hda_intel. If it’s missing, try loading it manually:
sudo modprobe snd_hda_intelIf that command throws an error, check the kernel log for the actual reason:
dmesg | grep -i -E "snd|audio" | tail -40Common messages you might see here include firmware loading failures, codec detection issues, or IRQ conflicts. Each of these points to a slightly different fix, which is why reading the actual log matters more than blindly reinstalling packages.
Fixing a Missing or Blacklisted Module
Occasionally a module gets blacklisted by a previous troubleshooting attempt (sometimes from following outdated forum advice). Check for that:
grep -ri "snd" /etc/modprobe.d/*.confIf you find a line blacklisting your audio module, remove or comment it out, then run:
sudo update-initramfs -u
sudo reboot
Step 3: Diagnose the PipeWire and WirePlumber Layer
This is where most modern audio glitches actually live, since PipeWire has been the default since Ubuntu 22.10, and its status has matured significantly through 24.04 LTS and into 26.04 LTS.
First, check whether the services are actually running:
systemctl --user status pipewire pipewire-pulse wireplumberYou want to see “active (running)” for all three. If one has failed, check its specific logs:
journalctl --user -u pipewire -n 100 --no-pager
journalctl --user -u wireplumber -n 100 --no-pager
Checking and Setting the Default Sink
Use wpctl, PipeWire’s control utility, to list your available audio devices:
wpctl statusThis prints a tree of sources, sinks, and streams with ID numbers. If audio is playing through the wrong device (a common issue after connecting a monitor with HDMI audio, or plugging in Bluetooth headphones), set the correct default:
wpctl set-default <SINK_ID>Then run a quick playback test:
speaker-test -t sine -f 440 -l 1If you hear the tone, PipeWire routing is fine and the earlier issue was almost certainly an app or device-selection problem.
Resetting a Corrupted PipeWire User State
If services are running but you still get silence, a corrupted user configuration is a frequent cause, especially after a system upgrade or a botched profile switch. This is safe and doesn’t touch system-wide settings:
rm -rf ~/.config/pipewire ~/.local/state/wireplumber
systemctl --user daemon-reload
systemctl --user restart wireplumber pipewire pipewire-pulse
This forces PipeWire and WirePlumber to rebuild their configuration from defaults. It resolves an outsized share of “audio worked yesterday, dead today” reports, because it clears out stale session data that the daemon otherwise keeps trying to reuse.
If the reset doesn’t help, reinstall the packages to rule out damaged binaries or service unit files:
sudo apt-get install --reinstall -y pipewire pipewire-pulse wireplumber alsa-utilsStep 4: Deal With Bluetooth Audio Specifically
Bluetooth audio adds another layer of complexity because it depends on both PipeWire’s Bluetooth module and BlueZ, the Linux Bluetooth stack. If wired audio works but Bluetooth doesn’t:
systemctl status bluetoothConfirm the PipeWire Bluetooth module is installed:
apt list --installed | grep pipewire-libpipewire-module-bluezIf it’s missing, install the full PipeWire suite rather than a partial one:
sudo apt install pipewire-audio-client-libraries libspa-0.2-bluetoothA common Bluetooth-specific fix is forgetting and re-pairing the device after a system update, since some codec negotiation settings (SBC, AAC, aptX) get cached and occasionally mismatch after driver changes.
Step 5: Update or Roll Back the Kernel and Firmware
Sometimes the issue isn’t configuration at all — it’s that a very new laptop’s audio chip needs a newer kernel than what shipped with your Ubuntu version, or conversely, a kernel update introduced a regression for your specific hardware.
Check your current kernel:
uname -rUbuntu 26.04 LTS ships on a modern 6.x kernel line with PREEMPT_DYNAMIC support, which has generally improved low-latency audio handling and hardware compatibility compared to the 24.04 LTS baseline. If you’re on 24.04 LTS and dealing with a brand-new laptop released after your install media, the Hardware Enablement (HWE) kernel stack often resolves detection problems for newer audio codecs:
sudo apt install --install-recommends linux-generic-hwe-24.04If audio broke right after a kernel update, and it worked fine before, you can boot into the previous kernel from the GRUB menu (hold Shift during boot, or Esc on some systems) to confirm the regression, then report it or simply pin the older kernel until a fix lands.
Firmware Matters More Than People Realize
Many modern audio codecs, especially on laptops with Realtek ALC-series chips, require firmware blobs from linux-firmware. If your device works but sound is distorted, crackly, or plays at the wrong sample rate, update firmware:
sudo apt update
sudo apt install --reinstall linux-firmware
sudo update-initramfs -u
sudo reboot
Step 6: Check for Conflicting Audio Software
If you’ve previously installed PulseAudio manually, JACK for music production, or a third-party audio manager, it can conflict with PipeWire’s default setup. Check what’s actually running:
ps aux | grep -E "pulseaudio|pipewire|jackd"If you see a standalone pulseaudio process running alongside PipeWire, that’s very likely your conflict. On modern Ubuntu, PipeWire handles the PulseAudio role itself through pipewire-pulse, so a separately running PulseAudio daemon should be disabled:
systemctl --user mask pulseaudio.service pulseaudio.socketCommon Ubuntu Audio Issues and Their Root Causes
| Symptom | Most Likely Cause | Fastest Fix |
|---|---|---|
| No sound at all after fresh install | Correct sink not selected, or module not loaded | wpctl status, then set-default; check aplay -l |
| Sound worked, then suddenly stopped | Corrupted PipeWire/WirePlumber user state | Reset ~/.config/pipewire and restart services |
| Crackling or popping audio | Wrong buffer size, or outdated firmware | Reinstall linux-firmware; adjust PipeWire buffer via config or the tray applet |
| Bluetooth headphones connect but no audio | Missing Bluetooth PipeWire module, or stale pairing | Install libspa-0.2-bluetooth; unpair and re-pair device |
| HDMI/monitor audio not detected | Wrong output profile selected | Use wpctl status to switch sink to the HDMI device |
| USB headset not detected | Kernel didn’t enumerate the USB audio class device | Check lsusb and dmesg; try a different USB port |
| Audio works in one app, not another | App-specific output routing | Check app’s own sound settings, or use pavucontrol for per-app control |
| Mic not detected by video calls | Wrong input source, or app-level permission issue | Check wpctl status sources; confirm mic permission in app |
Tools Worth Installing for Ongoing Troubleshooting
A few utilities make future diagnosis much faster if you keep them installed:
- pavucontrol – graphical mixer showing per-application audio streams, still fully compatible with PipeWire’s PulseAudio emulation layer.
- qpwgraph – a visual patch-bay for PipeWire, useful if you’re doing anything beyond basic playback, like routing audio between apps.
- alsa-utils – gives you
aplay,arecord, andalsamixerfor low-level testing that bypasses the sound server entirely, which is great for isolating whether a problem is in ALSA or in PipeWire.
Install them together:
sudo apt install pavucontrol qpwgraph alsa-utilsWhat Changed With Ubuntu 26.04 LTS for Audio Users
If you’re running the latest LTS, a few things are worth knowing since they affect how you troubleshoot. Ubuntu 26.04 LTS “Resolute Raccoon” moved to a fully rewritten sound configuration tool built in Python with GTK4 and Qt6 front ends, replacing the older configuration utilities from previous releases. It also ships PipeWire 1.4.x as the sole audio server, with more granular buffer and sample-rate controls exposed directly through a tray applet rather than requiring manual config file edits. If you’re coming from 24.04 LTS, expect the graphical tools to look different, but the underlying wpctl and pw-cli commands used throughout this guide work identically across both releases, which is exactly why command-line diagnosis is worth learning instead of relying purely on GUI tools that change between versions.
When to Consider a Deeper Reinstall
If you’ve worked through every step above and audio still isn’t functioning, there’s a reasonable chance you’re dealing with a hardware fault rather than a software one. Before assuming that, though, try one more thing: boot from a live USB of the current Ubuntu release and test audio there. If it works on the live session but not your installed system, the problem is in your configuration, not your hardware, and a targeted package reinstall of the full audio stack will almost always resolve it:
sudo apt install --reinstall pipewire pipewire-pulse pipewire-alsa wireplumber alsa-utilsIf audio fails even on the live USB, that’s a strong signal pointing toward a hardware issue, a BIOS setting, or genuinely unsupported hardware that needs a newer kernel than what’s currently available.
Final Thoughts
Learning how to diagnose and fix audio driver issues in Ubuntu isn’t about memorizing one magic command — it’s about understanding which layer of the stack you’re dealing with and testing methodically from the top down. Start with the obvious (mute switches, wrong output device), move to the sound server (PipeWire and WirePlumber), then drop down to ALSA and the kernel modules only if the higher layers check out fine. Across Ubuntu 24.04 LTS, 25.10, and the newer 26.04 LTS, the tools and commands covered here stay consistent, so once you’ve got this workflow down, you’ll be able to fix audio problems fast no matter which Ubuntu version you’re running.
Disclaimer
This guide is for general informational and educational purposes only. Commands involving system files, kernel modules, and package reinstalls can affect your system if used incorrectly — always back up important data before making changes, and proceed at your own risk. Steps may vary slightly depending on your Ubuntu version, desktop environment, or hardware configuration.
Complete Your Linux Hardware Knowledge
Whether you’re upgrading your PC, troubleshooting Linux compatibility, or preparing for a new Ubuntu installation, these expert guides walk you through firmware updates, hardware diagnostics, and the newest hardware improvements in Ubuntu 26.04 LTS.
About the Author